I had no idea when I blogged my digital negative process that I would be so overwhelmed by questions and queries. So, I best post a more complete explanation of the product itself, the process in how it is used, and how it differs from a regular Piezography printing system.
Explanation
Piezography digital film is a subset of Piezography that uses a modified Selenium MPS ink shade set and a unique QTR curve. The modification to the inks are in positions shade 2 and shade 4. These two shades have been modified to make them lighter so that a curve could be devised for QTR that would result in a smooth linearization on Pictorico OHP film. Without this modification, the Piezography profiler can not devise a smooth output linearization on film and the output looks poor as below:

A poor linearization will occur during printing if a perfect QTR curve is not created.

This is how the Piezography output should appear. Perfectly smooth, no posterizations over visible ink overlaps.
The Pictorico film absorbs ink in the way that requires modification to shades 2 & 4. So it requires a dedicated ink system that can no longer be used for making prints without changing shades 2 & 4 back to the normal Piezography dilutions.
A single curve has been devised that will perform exceptionally well on both Pictorico OHP and Ultra OHP film. The curve will print a 256 shade 8 bit grayscale image and differentiate between all 256 shades. A contrast gamma of 2.2 is applied during the printing so that the 256 shades of gray appear natural to the human eye and imitate the vast majority of displays and monitors that are manufactured today. The dynamic range of the ink is so wide that as is, it can be used to make magnificent backlit images by printing on white film.
QTR Curve = NewS9aNG2b-PictoricoUPohp.quad
NewS9aNG2b-PictoricoUPohp.quad
However, it must be modified by the user when making digital negatives and positives for both traditional and non-traditional photographic processes according to the limitations of these processes. This is ideally modified in a single Photoshop curve that will convert 256 shades of gray to a more narrow range of tone so that the end-points and mid-point fall into the requisite range.
More info in this box awaits those curious about the QTR curves architecture...
You are looking at QuadTone RIP curves which I have made for Roy Harrington’s QuadTone RIP software. The curves are actually a composite of seven individual curves that control the output of each inkjet head. Each curve represents a shade of Piezography ink. The darkest shade is on the right and the lightest shade is on the left. A very good explanation of QTR curves can be found in the blog by browsing the Piezography K7 inks and K7 curves category for Piezography Profiles. Notice that although this is an eight ink printer, there is no LLK curve. That position in the printer is reserved as a dummy containing PiezoFlush or as a Gloss overprint channel containing GO. It gets a curve all of its own. The curves are represented by color position rather than shade.
-

The curves architecture for film and paper are dramatically different.
The QTR curve for Pictorico film at the top features a very heavy black. Shade two (in the cyan position) had to be diluted lighter to fill in the gap between black and shade 3 (in the light cyan position). Shade 4 (in the magenta position) also had to be diluted lighter to fit between shades 3 and 5 (in the light magenta position). Shades 6 and 7 in light black and yellow positions complete the linearization.
Below the QTR film curve is the QTR curve for Hahnemuhle Photo Rag. It is very smooth and seems to not have any lumps and bumps because the Master Curve was created on this paper, and it has needed only a slight ajustment. All curves that we create produce fantastically smooth output no matter how lumpy and bumpy they look.
QTR curves have absolutely NOTHING to do with Photoshop curves, although I use Photoshop curves to illustrate the concept of QTR curves in the blog post “Piezography Profiles” at the Piezography Blog.
Process
For backlit printing, an image may be printed directly with the QTR curve NewS9aNG2b-PictoricoUPohp.quad. The film can then be inserted into a backlit frame, although I recommend inserting behind the film positive some additional translucent white film to “taste” in order to reduce the brightness to photographic levels. I like my backlits much dimmer than the current new superbright led frames which are designed to reach 100s of yards across trade shows to attract attention!
The dynamic range of a Piezography backlit can be nearly 4.0 – perhaps even brighter contrast than that found on a modern display monitor. I have a very special black ink I use that is nearly opaque – but too opaque for use with making digital negatives. Negatives require a very narrow dynamic range. Photogravure positives are even more narrow. If your heart is set on making outstanding backlits – you should contact us for this special Piezography Ultra Warm Opaque black ink. You can use a Warm Neutral ink set with this for a natural effect, or the Selenium ink set with this for a shadow split tone effect.
For negative and positive printing for wet-processes, a curve must be applied to the image before printing in order to reduce or restrict or manipulate the dynamic range. While this can be sorted with a simple Photoshop curve and 21 step grayscale step wedge, an intuitive and very appropriate 31 step digital step wedge is available from Precision Digital Negatives that can make this task simpler called the Curve Calculator II Tonal Palette. The rest of their process is more oriented towards using color inks. So any similarity between PDN and Piezography digital film ends with the target. But a read through of their materials can be helpful in explaining why a curve in Photoshop is necessary.
Piezography inks do not need to be made to block UV light using color pigments, but rather act as conventional silver negatives which are continuous tone negatives that simply block light by varying the opacity. Piezography prints without the dots and digital artifacts of the EPSON K3 inks and can produce significantly higher levels of resolution if the input file is greater than an optical resolution of 360dpi.
To help you wrap your head around what needs to be done on your part, here is a simple explanation in relation to darkroom principles… When you think of photographic negative film and absolute black on a silver print you think of film base + fog which is darker than the Pictorico film and may be about 0.28 – 0.35. When you think of specular highlight and photographic negative film, you think of a density of perhaps 1.60 – 1.85 of fully exposed film. The mid-point that makes a 50% gray is not half way between these two points, but rather closer to the base point. Light and logarithms and all that…
In making a digital negative with Piezography digital film process, you need to find these values by printing a step wedge through QTR using the curve NewS9aNG2b-PictoricoUPohp.quad. This is going to result in a perfect representation of the step wedge and this is not ideal for darkroom process. But it is ideal as a base for your final digital negative files because of the vast increase in quality as compared to competing systems.
You do not need to buy a digital file form PDN in order to do this. QuadTone RIP supplies a 21 step wedge and a 51 step wedge. Using the standard 21 step file from QTR, making a Piezography digital film and printing it in some darkroom process might produce a print that looks like the below:

The digital film exposed as silver print.
The three points are to illustrate the desired dMin, 50% and dMax. Remember that 100% ink density produces white and 0% density produces black. These are “negatives”. The same process is reversed in figuring out a film positive for processes such as photogravure.
By simple analysis, it appears that 65% input gray will print as pure white on this particular silver paper/chemistry combination. All of the density from 65% to 100% does not print and is lost. So we need to take 100% density (which we might have thought to be our specular highlight) and move it to 65% so that everything below 100% density in the original digital negative file can print with detail in the silver print.
25% input gray produces a satisfactory mid-point. So we need to transform 50% density to 25% in order for our mid-points to print as mid-points. And finally 5% input gray is produces a maximum black. All of the nuances in the 1-4% range are lost. So we need to take 0% gray (pure black) and move it to 5% as this will become our pure black once it is printed in silver. Anything lighter than this will now print with some detail.
Now lets see it in terms that are more visual including the Photoshop exercise…
If you did not create a compensation curve, and used the digital film as is to create a silver print, a digital negative image might print like this:

A silver print from a digital negative image file that has not been calibrated with a Photoshop curve.
However, the step wedge warned us that anything from 65% to 100% would end up as pure white and our mid-point was also much too light, and the deepest shadows crushed. Pretty awful! Now you can see why the need to calibrate your process in Photoshop.
If one creates a curve to restrict the input data to the points found by making test strips from a 21 or 51 step image file, the output will appear more naturalistic. It is a requisite part of this process that is unique to every type of wet-process and is affected by your own chemistry habits or techniques.
How one makes the curve is to determine the three points and make a compensation in Photoshop curves. You would use the previously silver printed test strip from the Piezography digital film…

The digital film exposed as silver print.
Moving these points that you found as dMin, mid-point, dMax to where they should be would create a Photoshop compensation curve that may look like this for the above example:

A Photoshop compensation curve to calibrate the digital film to the darkroom process.
This is the curve that you might use on your inverted digital images before printing them to the Piezography digital film system were your process to imitate this example. But, it is only an example of a curve and it does not mean you do not have to go through the process yourself!
So, this Photoshop curve applied to the digital step wedge image file that is used to make a silver print would convert it to something like this :

The three points are now where we want them...

The resulting silver print is now tonally correct from dMin to dMax with a mid-point gray that is correct.
I can say that this three point method is simplistic. Many photographers will use densitometry and apply 16 points in a Photoshop curve to perfect things. dMin and dMax are easily found, as is the mid-point. But, silver is not linear, so 1/4 tones and 3/4 tones are probably a requisite. It is not much more difficult to determine 1/8ths… The rabbit hole is as deep as you wish to go. Just keep in mind, that your wet-process must be standardized before starting. You are calibrating your wet-process.
If this Photoshop curves process may seem to you like something that should be built-in to Piezography digital film, it can’t. Everyone’s darkroom process is so different and often very personally arrived at. Each chemistry/paper combination will have a unique compensation. What Piezography digital film offers is a very smooth output process onto the film free of dots, artifacts, and a possibility of realizing far greater resolution of detail than that obtained by using Epson K3 color inks to make a digital negative. It’s a perfect base.
Once the curve is obtained for Photoshop and provided you keep your darkroom chemistry standardized, it will be easy to create a workflow something like this:

1) The original digital file in Photoshop

2) Inverting the digital file into a negative in Photoshop

3) Applying the Photoshop calibration curve prior to printing with Piezography digital film
4) print the image file through QTR using the curve “NewS9aNG2b-PictoricoUPohp.quad” onto Pictorico OHP film.
5) Dry the film with a hair dryer or allow to set overnight
6) use the film as you would for your process
Differences from “normal” K7
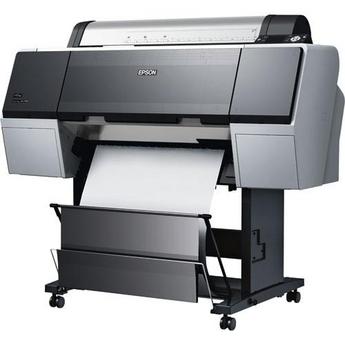
The Piezography digital film system can not be used for printing regular Piezography prints because the two altered shades of ink will produce posterizations with conventional K7 curves. It is possible in all of the supported printers to have an extra shade 2 and shade 4 carts with the “normal” shade dilutions. You would need to perform two power cleanings (maybe 3) to get this ink to the print heads in the Pro 4800, 7800 and 9800 printers. The desktop 2400 and 2880 require only two regular head cleanings. This ink set could then be used in combination with Piezography Gloss Optimizer to make regular glossy Piezography prints.
By also changing out MPS shade 1 to K7 shade 1 matte black, the system could be used to make regular Piezography matte prints. QTR has a huge array of K7 supplied curves for matte papers, and will soon have the glossy curves embedded. Right now those glossy curves are available here.
Finally…
We currently only support digital film process on the R2400, R2880, Pro 4800, Pro 7800 & 9800 printers.
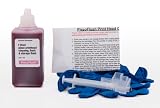
If you currently are using Selenium inks on any of these printers, you may only need to modify the shade 1, 2 & 4 positions. If you need help figuring that out – let us know. If you are on desktop printers, you just need to buy a set of new carts and possibly these additional position inks. If you are on the large format carts, you just need to buy these replacement carts and inks. Once you convert to the digital neg dilutions – it will not be able to print on paper with K7 curves until you replace the original inks once more. Can’t have best of both worlds with this system.
When I fully develop Piezography for Canon – we will try and keep an eye to creating a system that can do both matte, glossy and film. We are looking for a March release at the SPE show.
If you want to purchase a system you can follow these links for the only supported printer systems we currently produce: R2400, R2880, Pro 4800, Pro 7800/9800


 My own studio,
  So, for the moment, Apple and Adobe are again at peace collaborating together in my workflow – probably by mistake or coincidence. But!!! I have it locked down in a new studio we just put into our company. We bought two spanking new refurbished “2010″ version Mac Pro towers so that we coud use 10.7 (Lion). New towers only come with 10.8 (Mt. Lion). The 2010 is this litte gem you can buy from Apple’s Refurb store and it comes pre-installed with Mac OS 10.7. They are new leftover computers.
 With a $700 dimming 5000K viewing booth – we have a pair of true PRO printing systems for less then half the price of comparable new systems from Apple (that would include rather useless (for printing) 30″ Apple Cinema Displays). We get state of the art equipment for our intended purpose. What we do not get is better integration between our iPhone, iTunes, and iCloud – a small price to pay for having tonally correct prints directly out of LightRoom 4. For us it is easy to bypass the critical10.8 iCloud integration – because cell phones do not work in our part of Vermont. No one can call us. We can not call out. We have no need for an iPhone that integrates with a remote iCloud. And if we did – we still would not upgrade to Mt. Lion if it knocked out my printmaking workflow.
 Another example is our Hell 3400 drum scanner. This is such a superior system to modern scanners that we can’t even justify having it’s 3,000lb shell rigged out of our studio for free just to recover the huge amount of space it takes up. We could fit two or more large format printers in the space it occupies. The scanner is no longer valuable. It cost $110,000 new and we could possibly eBay it for $1,000. Who in the heck needs a drum scanner these days? Our clients absolutely do! So, we have no choice – we must maintain it and we must maintain the supportive equipment it requires.
 We have been digital printmaking for clients since 1984. You can not imagine the amount of backup systems we have used over the last four decades. We maintain an archive of extremely outdated equipment for the rare occasions when artists need to revitalize decades old projects. To use some of these antiquated drives we must still maintain a 1995 Apple Quadra 950 computer. What alternative is there? We can’t spend the time to transfer image files from Syquest, Bernouilli drives, even floppy sets and all kinds of obscure data systems. It’s all a bit of a Catch-22 trying to keep relevant and it often has little to do with the latest greatest bigger faster. In the end, it comes down to what works.


 We innovated a new type of ink glossiness that is unprecedented in the industry without giving up our superior matte paper printing.
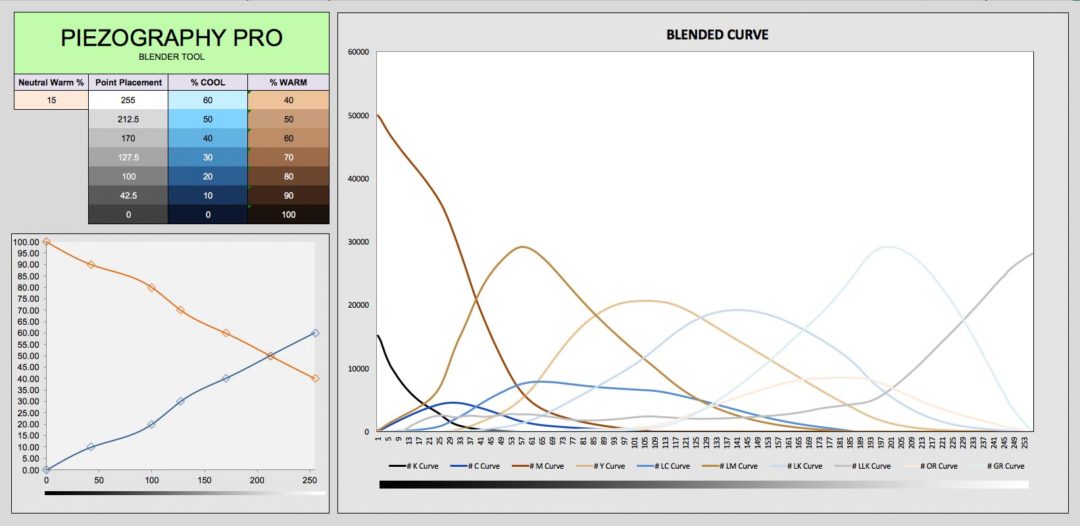
 Download and read our new Piezography Manual that shows you how to use these new tools. We built a private support forum for Piezography Professional Edition software Pro, K7, K6, and P2 users. Piezography Professional Edition is extensible. Your support (annual licensing fee) will keep our development front and center and allow us to continually provide you with masterful and knowledgeable product support, new master curves, and upgraded toolsets.
 The new ink is the heart and soul of Piezography Pro. It is the first ink that we have both spec’d and then batch formulated in our Vermont ink sampling lab. And we’re going to try and keep producing it that way. Small batches will allow us to more readily develop new ink designs in the future. Piezography Pro is 100% Made in Vermont small batch goodness!
 Piezography Pro is our first small batch ink set. Small batches let us tightly control the precise L*ab values from batch to batch for each of the 11 inks. This batch’s margin of +/- change in comparison to the first is barely measurable in both L* and *AB.


 ) helps accomplish this but so does our proprietary PPE toolset.


 Piezography Pro
 The program is designed by Cathy and Jon Cone, the founders of Cone Editions Press.
 Meet Dana Hillesland. Dana is a super-experienced Epson printer expert. She has been involved in research and development of several Piezography products. She is the production printmaker at Cone Editions Press, and the person responsible for the printing of, curating of, and inspection of the work that is printed. Her eye for quality control is as legendary as her expertise in making sure that Epson printers don’t misbehave. You may recognize her as the one giving expert printer maintenance advice in our InkjetMall videos. Dana can dispel the complexity of printer maintenance as well as guide you through workflow and even train your eye towards improving the printed quality of your work.

 Meet Walker Blackwell. Walker is one of the original Piezographers from way back when and has adopted nearly all of the Piezography systems (which are now in their 6th incarnation).


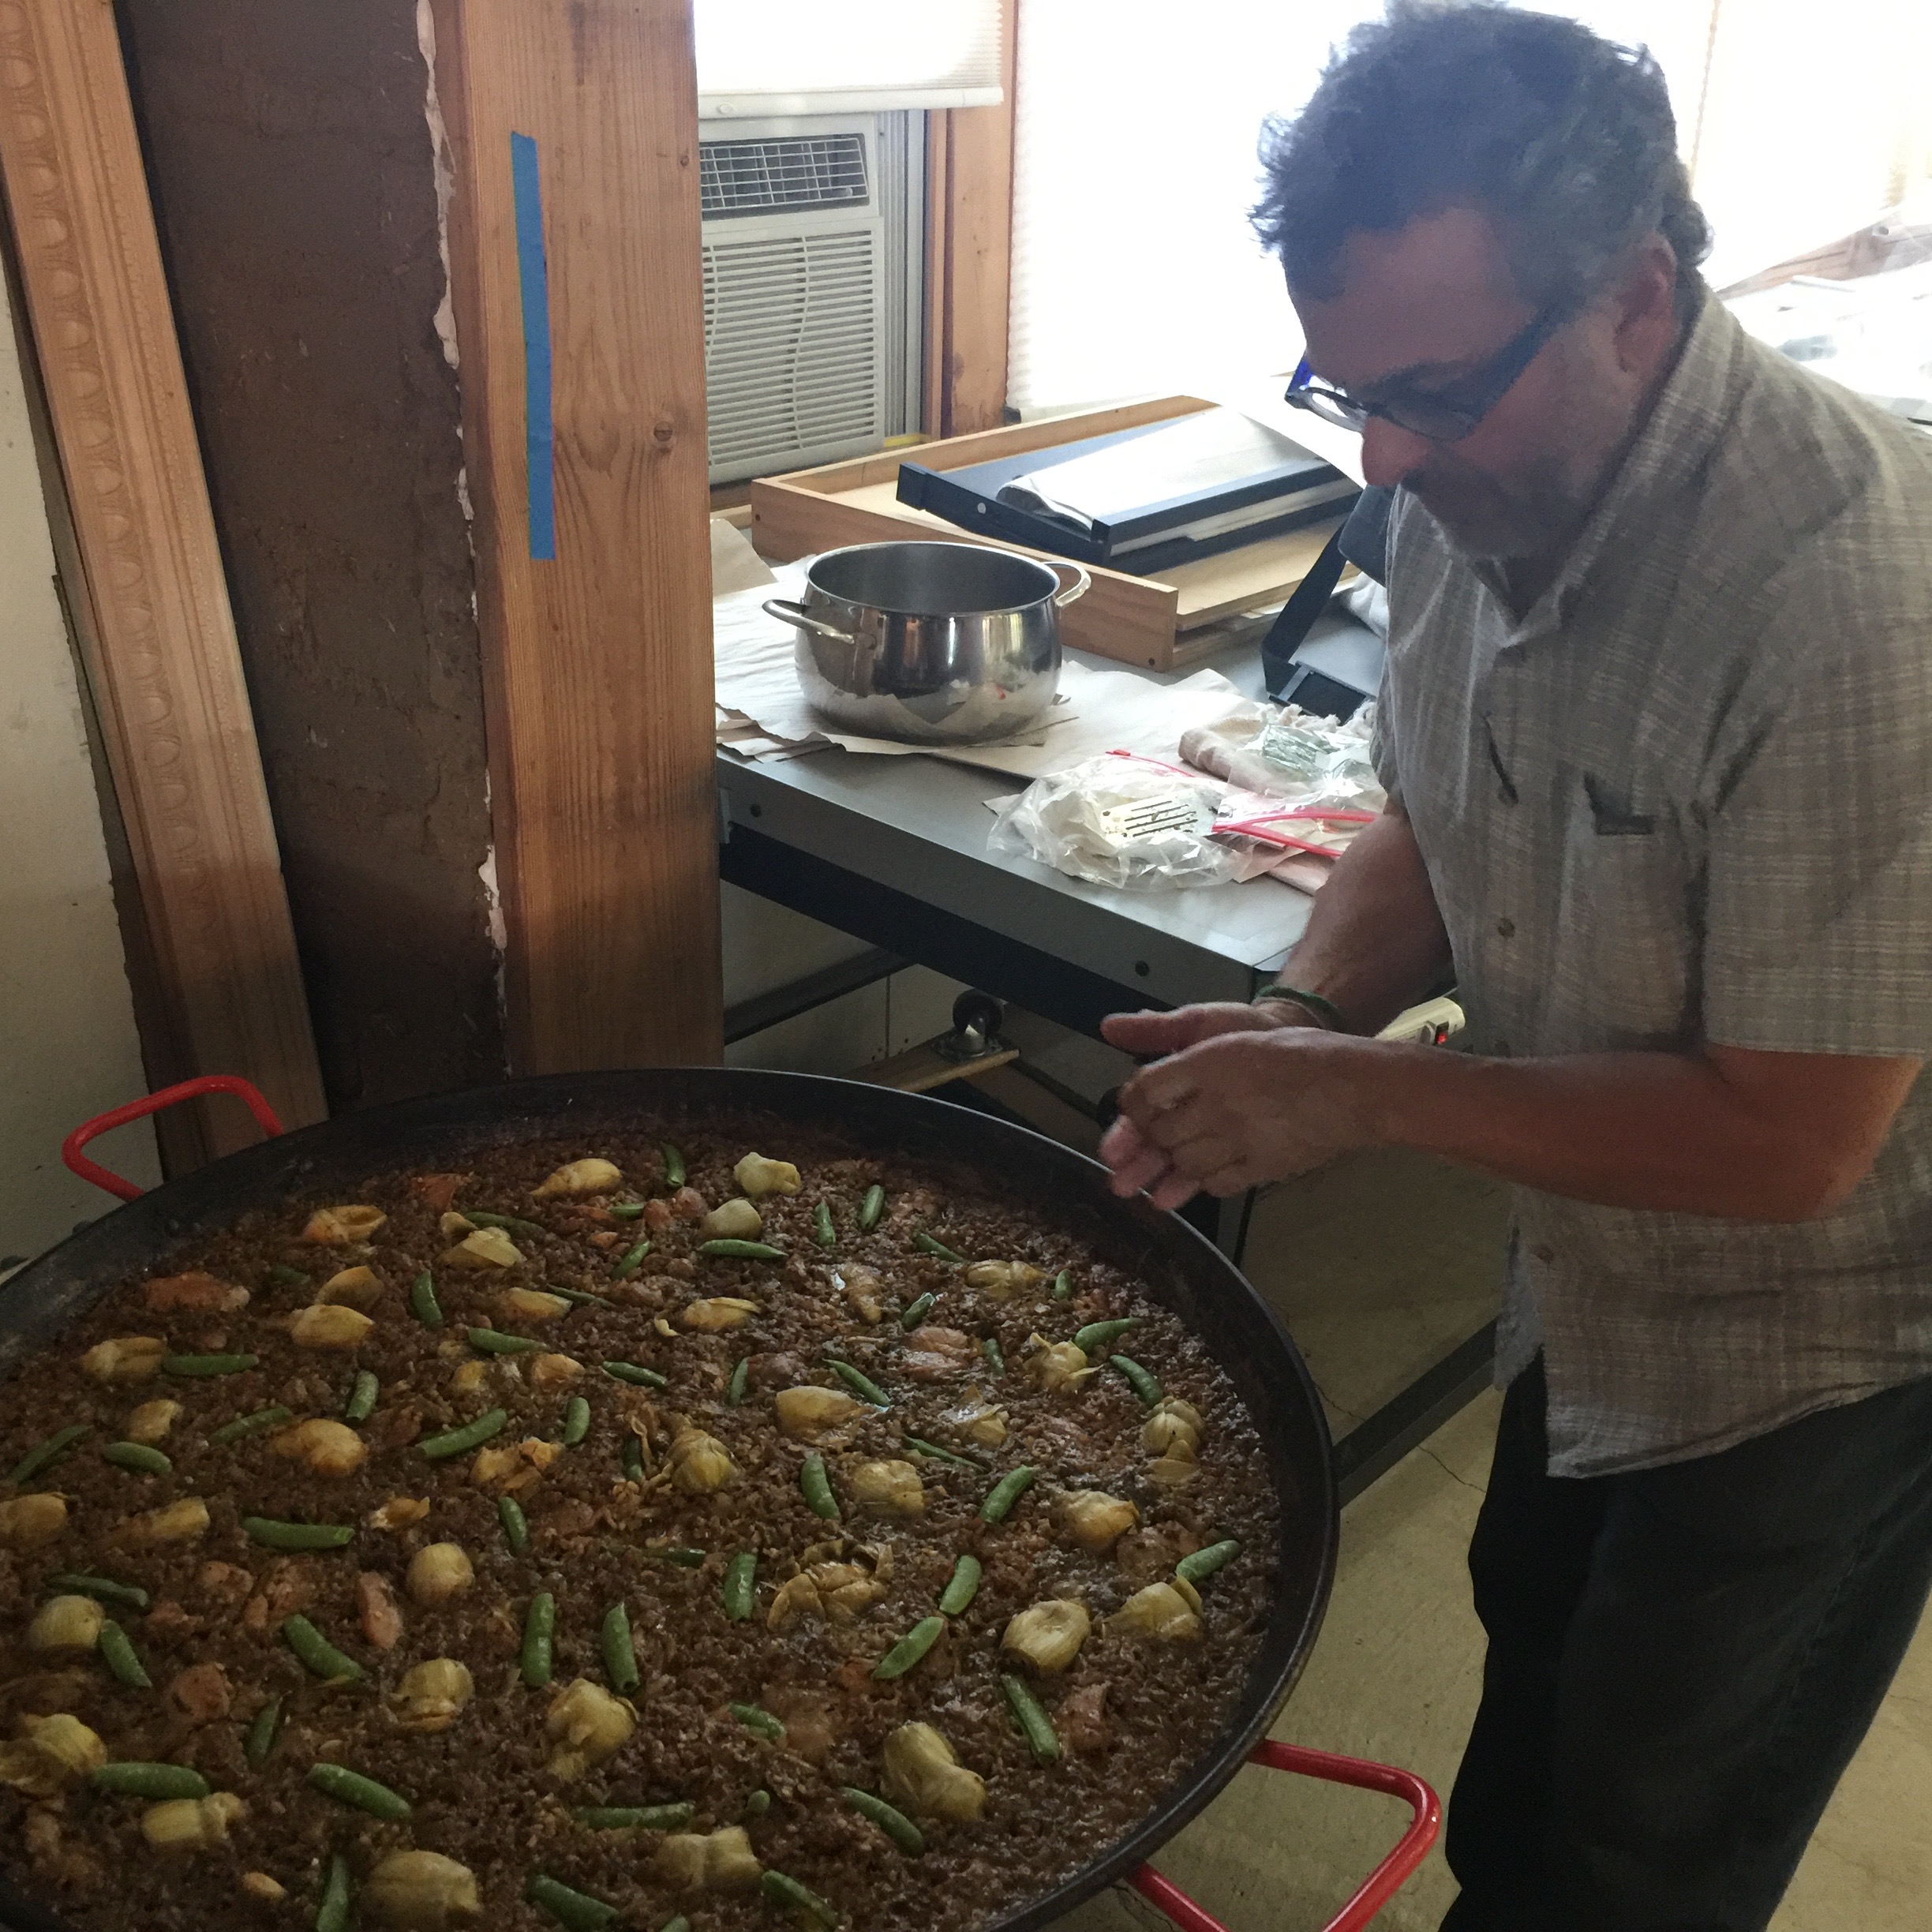
 We haven’t yet! You are welcome to watch us make the paella in the classroom. It’s actually part of the curriculum.